
Never Miss the Chance to Improve Your Home!
Sign up to receive email updates on promotions, sales and more.
 Skip to content
Simply dust, mop or vacuum with a soft brush or wood floor accessory to keep your laminate floor clean from dust, dirt or grit. A damp cloth or mop can be used without damage to the laminate flooring panels, but do not use excessive water. Dry the floor thoroughly with a clean, soft cloth. Blot up spills or water from wet feet or footwear immediately with a clean, dry cloth, sponge, or paper towel. Do not allow excess liquid to remain on the surface of your laminate floor. Do not use soap-based detergents, abrasive cleaners, or combined “clean and shine” products on your laminate floor. Do not use steel wool or other scouring pads that may scratch laminate panels. Do not wax or polish your laminate flooring. Do not steam clean or use chemicals that may damage the laminate flooring surface. For stubborn spots or stains on laminate flooring use acetone or nail polish remover on stubborn substances such as tar, asphalt, paint, or oil. Then wipe clean with a damp cloth.
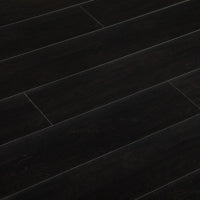
Laminate floors are made up of several materials bonded together under high pressure. Most laminate flooring consists of a moisture resistant layer under a layer of HDF (high density fiberboard). This is topped with a high resolution photographic image of natural wood flooring. It is then finished with an extremely hard, clear coating made from special resin-coated cellulose to protect the laminate flooring.
Solid hardwood of any thickness should be installed only above grade. Laminate flooring can be installed above or below grade, and over virtually any other flooring surface. Some hardwood flooring is engineered, meaning that instead of solid hardwood, it is made of several wood layers with a hardwood veneer. Laminate flooring, usually 7mm to 8mm (5/16” to 3/8”), is also made of several layers. These are laminated together which makes for stability and strength.
There are many types of edge joining systems used to connect laminate flooring panels together. Some laminate flooring connections snap together by hand while others require a light tap with a mallet and a tapping block. Still others use a combination of a “snap” click edge and a “bang” or “tap” click at the end of the panels. While most of the various systems work well to secure your laminate floor, it is important to read your laminate flooring installation instructions carefully.
Laminate flooring is an extremely versatile product. It can be installed in virtually any room of your home, above or below ground, over wood or concrete. Because laminate flooring is a wood flooring product it is not recommended that laminates be installed in wet locations such as bathrooms, washrooms, saunas, enclosed porches or verandas, or anywhere that may require wet-mopping. Extended exposure to moisture of this type may cause the core of your laminate flooring to warp or swell.
Laminate flooring is typically half the cost of traditional hardwood flooring. Additionally, laminate flooring is designed to be easy to install and is generally a good choice for most do-it-yourselfers, where solid hardwood requires a specific level of expertise. Installing laminate doesn’t involve nails, and more recently has done away with glue as well in many cases. Laminate flooring can therefore be installed fairly quickly and inexpensively. Laminate flooring is generally designed to be scratch-resistant and fade resistant, two areas where solid hardwood flooring is known to be more vulnerable.
Ensure that your subfloor is flat, dry, and smooth. Always use underlayment under your laminate floor for soundproofing. Laminate flooring and underlayment/vapor barrier can be installed over concrete, wood flooring, vinyl tile, linoleum, tile, or virtually any other hard, flat surface. Take extra care when installing laminate flooring over radiant heating. Ensure that you read both the laminate flooring and radiant heat system instructions carefully before beginning. Read your laminate flooring manufacturer’s installation instructions carefully. Allow you laminate flooring to acclimatize to the room where it will be installed for as long as possible (min. 48 hours). Inspect each laminate flooring panel carefully for defects or damage before installing it.
Laminate flooring boards must be acclimatized for 48 hours in the room where they will be installed. Installation should take place
at room temperature of at least 65°F (15°C). A floor surface temperature of 59°F and an overall room temperature of 64°F must be ensured before, during and three days after the installation.
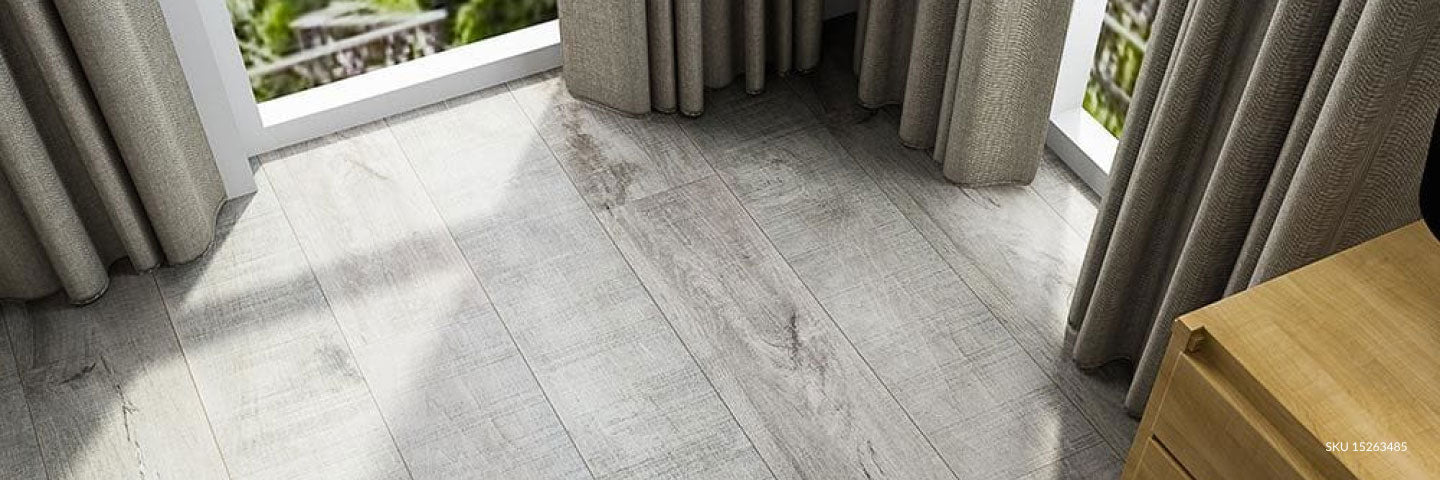
To decide where to begin the layout of your floor, consider incoming light. It is usually best to install laminate flooring with the planks running parallel to light coming in windows or glass doors. For any installation, the starting wall should be as long and straight as possible.
In an average installation, approximately 7% to 10% of the total area to be covered will be wasted for several reasons, typically cuts, planks damaged during installation, or errors.
All laminate floors sold by BuildDirect are high quality products, manufactured with residual wood fiber. Their self-locking tongue-and-groove systems have exceptional joint integrity and are designed for easy, glue-free installation. All edges are protected against ingress of moisture by an environment-friendly hydrophobic agent. Laminate floors from BuildDirect meet stringent standards for resistance to moisture, wear, fading, and staining. And after installation, the floor can be walked on immediately.
Yes, laminate flooring can be installed on steps but with this exceptional installation, the planks should be glued down with regular wood glue. The moldings and transitions need to be nailed down.
Laminate remains a firm favorite among professional installers and DIY-ers. With laminate floors, you get easy-to-install, durable flooring that looks like real hardwood at a more cost-effective price. Laminate flooring is suitable for below-ground installations such as basements, and it can easily withstand foot traffic, abrasion, and even pets.
Where: Think about where your laminate floor will go. Get to know the AC (Abrasion Class) ratings for laminates so you can pick the one that’s right for your space.
What: Be picky! With so many laminates on the market you should be able to get the exact color, style and design you want.
Why: So many reasons. Easy to clean, hypoallergenic and perfect for homes with pets or kids as well as many types of commercial applications. Laminate prices are always less than hardwood as well as many other flooring types.
When: Installing a floor doesn’t happen overnight. Make sure you have time for delivery, acclimatization and installation of the floor. Schedule it!
Who: Do you want to Do It Yourself or hire an installer? Laminates and their easy locking systems make for ideal beginner DIY jobs.
There are two types of laminates . One, known as DPL, or Direct Pressure Laminate, the other known as HPL, or High Pressure Laminate. With the HPL process, the backing and top wear layers are treated separately and then fused directly onto the core, creating a very strong floor suitable for very heavy traffic.
HPL laminates consist of the same four layers as in Direct Pressure Laminate, with the fifth layer being a special high-strength paper. HPL flooring is generally more expensive than DPL flooring but many residential applications won’t require this type of floor.
You’ll need more than just the planks of laminate to complete your floor. Underlayment, moldings, transition pieces, trim, even adhesives will need to be part of your installation. Make sure your vendor has all these pieces ready for your job.
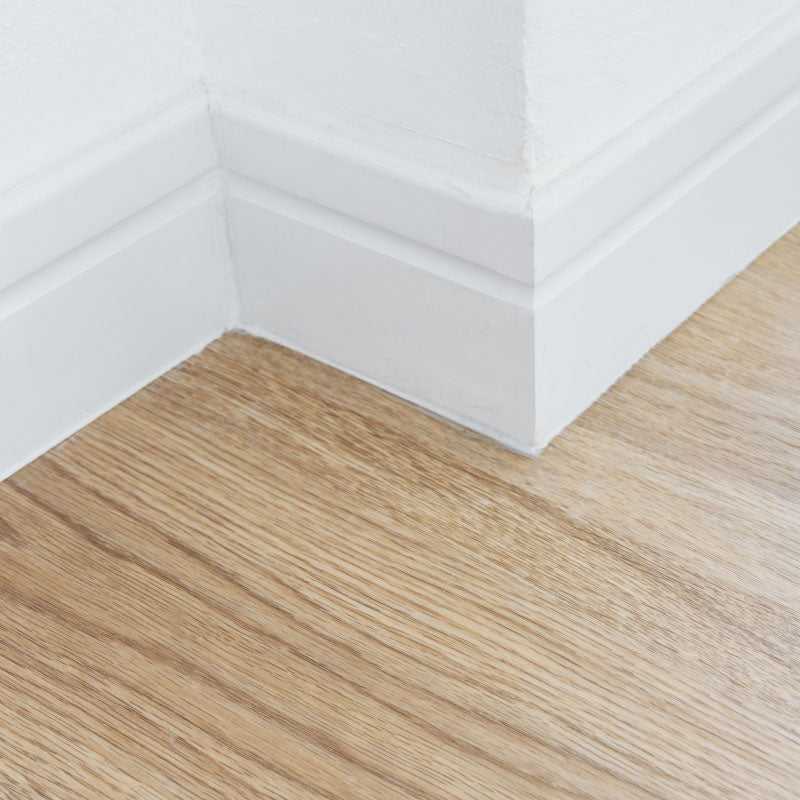
You’ll need the right moldings and trim to finish your floor. Ask your flooring retailer if they have pieces that match the laminate you are purchasing. At BuildDirect, many of our laminate flooring options have coordinating moldings available. Paying attention to the smaller details will make your new floor look even better.
| Moldings | Usage |
|---|---|
| Base shoe molding | A combination of the baseboard and quarter round; a flat profile, with a rounded lip at the bottom of the molding. This molding is used when shallower profiles are required – behind bookshelves, for instance. |
| End molding | Yet another transition molding that is used when level differences between two rooms are even greater, or when looking to find a transition between a laminate floor and a sliding glass door, for instance. |
| Reducer molding | A transition molding that is placed flat on a floor between two rooms that have slight level differences – between laminate and tile, for example. |
| T molding | A transition molding used between two rooms of the same level. This type of molding is shaped like a “T” when looked at in a cross-section. |
| Stair Nose molding | For use when making a transition between a laminate floor and stairs. The molding hooks over the edge of the first stair, with one edge on the surface of the flooring, and the other on the vertical face of the stair. |
| Quarter round molding | Used in the same way as a base shoe molding, behind cabinets where a low profile molding is better suited to support an object flush against the wall. |
| Baseboards | A very commonly known molding with a flat vertical surface or “profile”, used in the same way as a quarter round; a transition between floor and wall. |
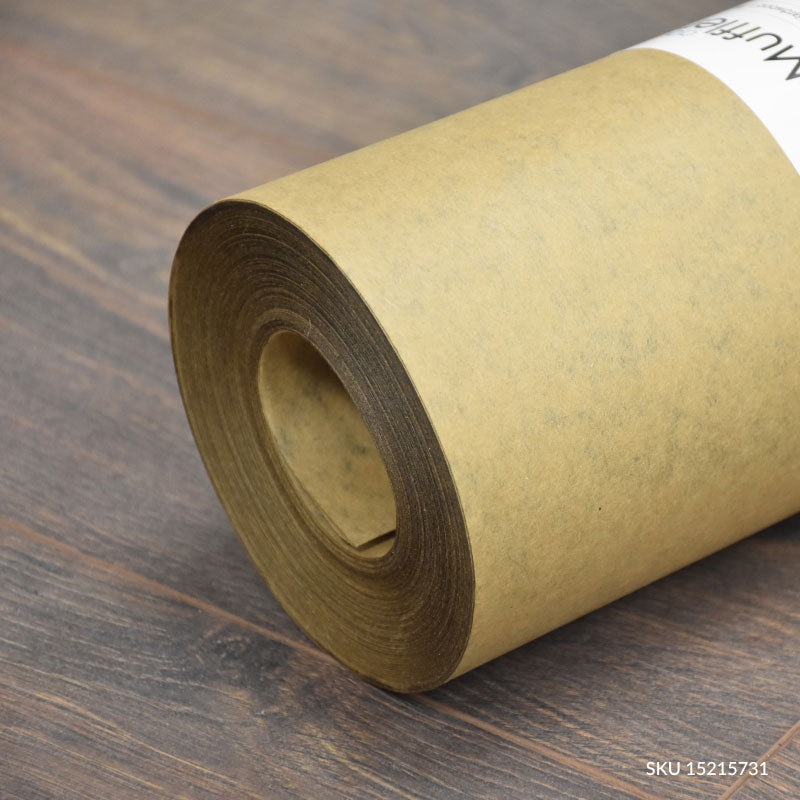
Underlayment is a thin foam padding that absorbs sound as well as some of the very minor imperfections in the sub-floor. You will also need either a separate moisture barrier or an underlayment with a moisture barrier if your floor will be on or below grade or in an area subject to moisture. You can purchase underlayment by the roll and lay it down before you install your laminate or you can buy a laminate with a pre-attached underlay, making installation even quicker and easier. There are basically 3 underlayment options:
Laminate with a pre-attached underlay typically is padding with a sound barrier, meaning that you may need to install a moisture barrier first before installing it.
Most laminate floors no longer require adhesives as the easier click lock systems now almost completely dominate the marketplace. However, should you come across a laminate requiring glue, use the adhesive recommended by the manufacturer.
Get to know the AC ratings for laminate floors. AC stands for Abrasion Class and an impartial 3rd party has set the standard for 5 different categories of use and durability. As a general rule of thumb, the higher the AC Rating, the higher the price. Don’t overpay and don’t underpay. Be sure to pick a floor with the AC rating that matches your needs.
You know how certain wood species can yellow or redden with age and develop a patina as they collect surface scratches and dents? Laminates don’t react to age and wear in the same way. So how will your laminate floor perform over time? Will it be ravaged by time or look exactly the same as the day you installed it? A lot depends on the quality you pick and how and where your floor is used.
A laminate floor is perfect for just about any indoor space. Laminate cores react less to extremes in humidity than solid wood does. Having said that, laminate is not an appropriate choice for spaces where high moisture or humidity levels are continuously present. It’s generally not a good idea to install laminate in bathrooms, laundry rooms, indoor/outdoor spaces or anywhere else water or encounters with wet objects are likely to occur.
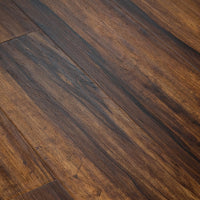
One of the great features of laminate floors is that they tend not to react to sunlight and aging the way wood species do. For instance, cherry hardwood will change drastically over the years whereas cherry laminate will stay the same color as the day you bought it. Having said that, the better the warranty on your laminate, the better it will resist fade and discoloration. Let the AC ratings be your guide in establishing quality.
Sometimes you’ll walk into someone’s house, look at their living room floor and be amazed to hear that they installed their laminate a decade ago! The exposure a laminate floor gets from feet, wheels, high heels, damp, paws, chairs, couches, tables, spills and every other form of wear and tear will show with time. If you want your floor to look pristine after years and even decades of use- buy the highest AC rating floor you can afford. The AC rating can help you find the laminate that’s tough enough to stand up to the kind of wear and tear for your space.
Laminates can go almost everywhere. But sometimes you have to take a few practicalities into consideration. Here’s what can happen, room by room.
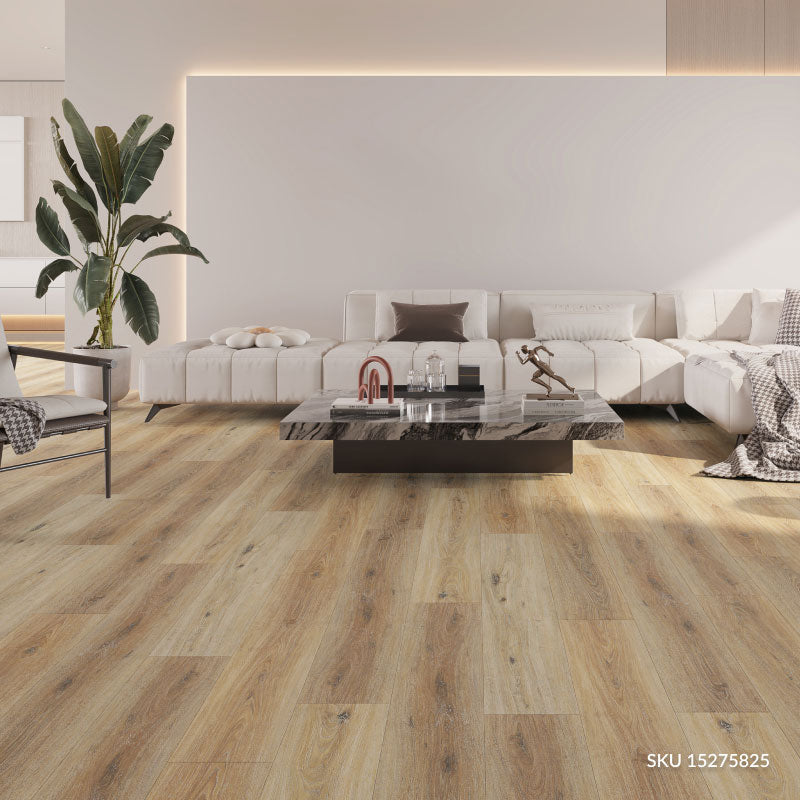
Living & Dining Rooms. This is the perfect place for laminates. Just be sure to use furniture protector pads under your chairs and couches to keep from scuffing the laminate surface. Make sure you buy a laminate with an AC rating that is tough enough for the way you want to use your floor.
Foyers & Entrances. Laminates shouldn’t go where they will be high or constant exposure to moisture. So what about foyers and entrances in rainy or snowy climates? Yes, you can install laminates in these places but be sure to lay down a mat or shoe carpet to keep the wet and especially the salty-wet moisture off the floor.
Offices & Dens. Laminates make a wonderful choice for this kind of use. You may want to place a special plastic mat down under the wheels of your office chair to avoid “overuse” spots or pick a laminate with an AC rating that’s tough enough to take years of office chair abuse.
Kitchens & Bathrooms. Laminates look beautiful all through the house, so there’s every reason to want them to continue into an open plan kitchen. And you can. Just be aware that pools of standing water will cause problems with your laminate floor, just as it would with a wood floor. Clean up spills quickly and damp mop rather than wet mop your floor. As for bathrooms, their general moisture and humidity make it a no go for laminates. However other suitable materials have now been made to resemble wood like vinyl and porcelain tile.
People with allergies. Unlike carpets that store years of dust, pollen, animal hair and dander, laminate floors form a tight seal that cannot be penetrated by these elements. All you need to do to keep your home free from allergens is vacuum regularly.
People who like easy clean up and maintenance. Some woods require polishing and waxing to keep them looking their best. Not so with laminates. All you need is a broom or a vacuum cleaner plus one of the new damp mop products readily available in your supermarket. That’s all.
People with children. No one likes the thought of babies crawling on dirty carpet or floors. Laminates, with their tight seal, form a barrier against embedded dirt. Regular vacuuming and damp mopping is all it takes to create a flooring surface that’s ideal for children.
People with pets. Pets have accidents and accidents can permanently damage a wood floor. Same with claws, which can easily scratch a wood floor’s surface to such an extent, that only sanding and resurfacing will fix it. Not so with laminate floors. Just clean up the accidents quickly and buy a laminate with a higher AC rating so your pets can roam freely within the house.
There are several simple steps that you can take to keep your laminate flooring clean and to ensure that it looks great for many years.
Pergo was the first laminate wood floor of the 80’s but the innovations in laminates keep coming. From locking systems, to evermore-authentic looks, you’ll want to know everything you can about the different types of laminates.
You might want to pick your floor simply based on what the surface will look like. As we’ve said before, laminate floors are always evolving. Where there once was one basic surface to choose from, now there are many.
Keep an eye out for new laminate innovations,they’re happening all the time.
Since the lamination process simply means fusing a photo decorative layer onto several other stabilizing layers, a laminate floor can look like just about anything. Laminates can look like stone, tile, or wood. And within these three categories, you can find color, texture, and tone in almost limitless varieties.
Once you’ve chosen a laminate floor, you need to calculate the total cost of your installation. You will need to determine how much square footage you’ll need, consider the AC rating that will best suit your flooring location, along with the cost of underlay and laminate flooring moldings too. Making sure that there are no surprises as far as your project budget is concerned makes for a good start to a successful laminate flooring installation.
Apart from material costs, here is a list of additional expenditures you may have to factor in during or prior of a laminate flooring installation project:
There are many things you should know before considering laminate as your flooring option. This may not be a complete list of things to look into before finalizing your decision about laminate flooring, but a good conversation with your flooring installer or dealer will give you the complete information. Make sure to get an installation quote that is truly all-inclusive before the work begins. Doing your research and getting all of the costs of a laminate flooring installation upfront is the key to a happy and successful project.
Preparing for a laminate flooring installation is a simple way to achieve the most efficient use of your time. There are three important issues to think about before the day of laminate installation: Furniture, appliances, and fixed objects.
A do-it-yourself laminate floor installation requires intermediate-level construction skills. Several factors should be considered before a laminate floor installation. A swift and easy installation can take place if you carefully prepare for the installation. Here are a few instructions:
Installation tips:
Underlayment is a material placed between the sub-floor and your laminate floor to provide cushioning, sound absorption and a barrier to moisture. It comes in large rolls or as separate pieces that can be taped together. The use of an underlayment speeds installation, reduces walking noise, improves flooring stability and provides superior support.
Ease of installation is one of the key advantages of laminate flooring. One of the two do-it-yourself installment options is the floating or glueless method. In this method, the flooring is not secured to the subfloor. Instead, it allows each board to be connected by means of a tongue-and-groove design. Around eight inches by four feet long, these planks click together to form a firmly fastened surface.
Not only easier, the glueless flooring planks are installed approximately 50% faster on average than the traditional methods of installation.
Materials requirement:
Installation procedure:
Picking a reputable dealer is all-important. You want to make sure you not only get good advice but that you get good service all the way through your purchase and installation process. The best way to do that is to ask tough questions in advance and be prepared to walk if you don’t like the answers. For example, a reputable dealer will be able to tell you the AC rating of each of their products.
Here are some good questions to ask before purchasing a floor:
Knowing the right questions to ask and the details to pay attention to when shopping for a new laminate floor will help make the process feel more approachable. Luckily, you don’t have to memorize this information. Refer back to this page as you need to and don’t hesitate to contact a BuildDirect Product Expert if you need assistance with your laminate decision.