How to Repair Damaged Grout
|
|
Time to read 4 min
 Skip to content
|
|
Time to read 4 min
Grout is a common material used with tile, and it keeps the spaces between each tile looking uniform. This material can become damaged over time, and it will likely require a bit of repair to restore it to its original state. If you’re dealing with damaged grout, there are some easy ways to fix it yourself. With just a few simple tools and some quick training, you can easily repair damaged grout and make your floors, backsplash, and feature walls look fantastic again.
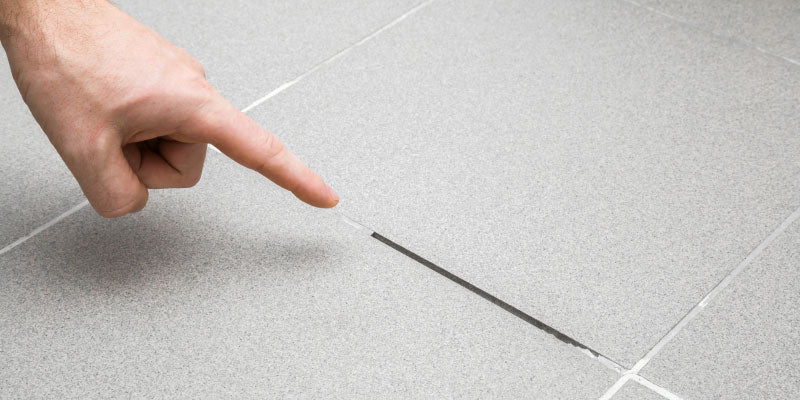
Cracking is the most common cause of damaged grout. As you walk on tile floors, the grout becomes weaker and can eventually start to show unsightly cracks. You can remedy this by using caulk to fill in the cracks and restore the look of the grout. First, remove all loose and cracked grout with a grout saw or Dremel tool. Apply the caulk gently to the cracks, smoothing it down with a plastic spoon. You can also wet your fingers and smooth the caulk by hand.
Make sure you allow the caulk to fully cure for at least 48 hours before you walk on the floors. Avoid putting heavy furniture back until it’s fully cured as well. There are several types of caulk available and some are made in a variety of colors. Look for a caulk that matches the existing grout color as closely as possible.
If you want to fill in the damaged grout with a new layer of grout, it will create a nice, uniform look. Since grout is porous, it crumbles over time with normal wear. Using grout to fill in cracks will restore it beautifully, and you can make spot repairs as needed. In order to repair damaged grout that’s cracking using new grout, follow these steps:
If you prefer to completely remove the old, damaged grout and reapply it, this process yields great results. You will need to use a special grout saw to effectively remove the damaged grout and prevent your tiles from becoming damaged. As you use the saw, be sure to do so with careful, gentle motions. Aim the saw directly into the grout lines and avoid using it on the tile itself whenever possible. While you remove the old grout, use even, steady motions and push the saw directly into the grout. Wear safety goggles for additional protection. After the old grout is completely removed, use a special grout cleaner to clean up any excess, leftover debris. You can make a homemade grout cleaner using equal parts of vinegar and water. Never use abrasive cleaners as they can cause scratches on your tile. After cleaning the grout lines, rinse everything using clean water. You can absorb any excess water by using a rag or some paper towels. Don’t completely dry it since the grout needs a small amount of moisture to adhere and cure. Once you’re ready to reapply the new grout, you can follow the steps above. It’s important to note that you’ll need more grout than you would if you were to simply repair existing cracks. When you use the sponge, wring it out frequently so you’re not introducing too much water to the grout. After application, make sure you follow the manufacturer’s recommended drying time so the grout can completely cure. To maintain the beauty of your grout, you should apply a grout sealant. After the grout has completely cured, you can apply the sealant and allow it to dry. The sealant will keep the grout safe from further damage, and it also protects it from absorbing stains and dirt. There may be a haze on your tiles after applying sealant. Simply buff them out using a soft cloth until the haze is fully gone. Re-seal your grout at least once every six months for best results.Remove Damaged Grout with a Grout Saw and Reapply
